10 Tips for Capturing Stunning Travel Photos: Mastering the Art of Lighting
Capturing stunning travel photos begins with understanding the importance of lighting. Natural light can transform an ordinary scene into an extraordinary one. For the best results, consider the golden hour—the first hour after sunrise and the last hour before sunset—when the light is soft and warm. This time enhances colors and creates long shadows that add depth to your photos. Experimenting with both the direction and intensity of light can help you achieve dramatic effects. Remember, shooting with the light behind you can create well-exposed images, while backlighting can deliver stunning silhouettes.
Additionally, think about the use of artificial lighting when natural sources aren't available. Carrying a portable flash or using reflectors can greatly improve your images in challenging conditions. Try to experiment with different settings and lighting angles to see how they impact your shots. Don't shy away from cloudy days, as they provide diffused light that can minimize harsh shadows. Here are a few quick tips for optimizing your travel photos:
- Scout locations during different times of day.
- Pay attention to weather conditions and how they affect light.
- Use manual settings to control exposure and shutter speed.
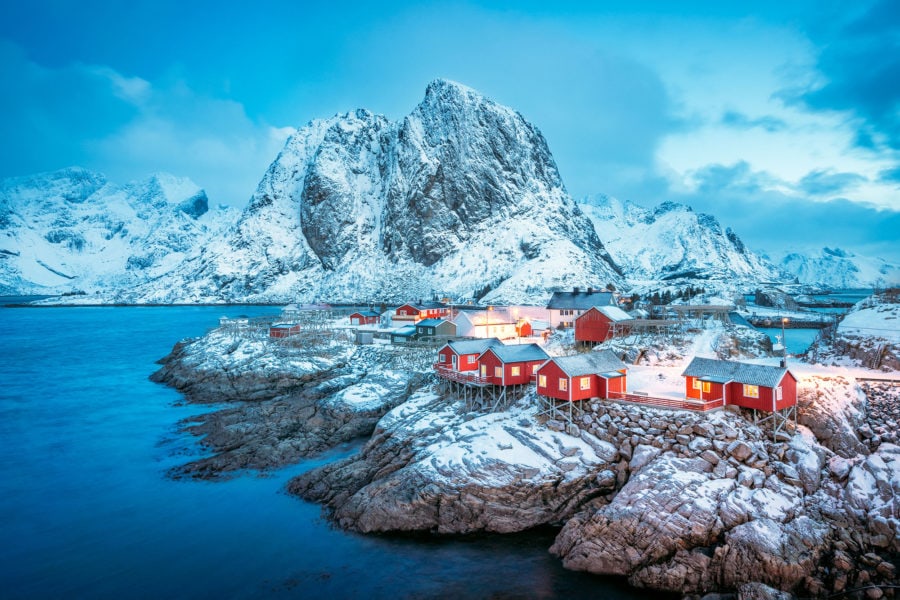
The Best Times of Day to Photograph Your Travels: A Guide to Chasing Natural Light
When embarking on your travels, understanding the best times of day to photograph can significantly enhance the quality of your images. The two prime times for capturing natural light are known as the golden hour and the blue hour. The golden hour occurs shortly after sunrise and before sunset, when the sun casts a warm, soft light that enriches colors and creates long, dramatic shadows. In contrast, the blue hour takes place during twilight, just before sunrise and after sunset, when the sky turns into a deep blue canvas, allowing for striking contrasts between city lights and the fading daylight.
To make the most of these magical times, take some practical steps to plan your photography sessions. Here are a few tips to consider:
- Use apps that indicate sunrise and sunset times based on your location.
- Scout your location in advance, identifying the best spots for capturing unique perspectives.
- Be prepared to adjust your shooting techniques as the lighting changes quickly during these hours.
How to Choose the Right Camera Settings for Beautiful Travel Snapshots
Choosing the right camera settings is crucial for capturing beautiful travel snapshots. Begin by understanding the three main components of the exposure triangle: Aperture, Shutter Speed, and ISO. Adjusting these settings can dramatically affect the quality of your photos. For instance, a wider Aperture (lower f-stop number) allows more light, creating a beautiful bokeh effect, perfect for isolating subjects against a blurred background. Conversely, if you are shooting in bright sunlight, you may want to narrow the aperture to maintain sharpness and detail.
Additionally, consider the lighting conditions and movement in your scenes. If you're photographing a bustling market, a faster Shutter Speed will freeze motion, ensuring that your snapshots are crisp. For low-light situations, you might need a slower shutter speed; just remember to stabilize your camera to avoid blur. Lastly, adjust your ISO settings according to the environment. A lower ISO is ideal for sunny days, while a higher ISO is necessary for dimly lit locations. By mastering these settings, you'll enhance your ability to capture stunning travel photographs that encapsulate the essence of your adventures.